Showing posts with label decorating. Show all posts

12.05.2011

DIY Christmas trees

Hello All-

I wanted to share a Christmas project with all of you that got a bit of attention on my Facebook page last week.  With a new house and new spaces to decorate, I have been spending a fair amount of time at various stores scouring through their decorations for "the perfect ones."  I noticed that one type of decoration that kept popping up in my search was small decorated Christmas trees.  Not decorated with ornaments and lights, but instead, feathers, paper sheet music, beads, you name it.  A quick search on Pinterest and you'll see countless variations.

I decided to give this new trend the old "DIY try".  So far I have made two trees for our mantle, and if time allows, I will add a third to the set. 

(I apologize that I don't have step-by-step photos, but they are quite easy to make. I didn't expect to be blogging about them until numerous people started sending me messages with questions about them)

The first one I made was the button tree.  I have quite a large button collection, but I wanted some variety and I picked up a few bags of mixed buttons at Michaels.  I will warn you, these can get costly, so this would be the perfect time to get your hands on one of their 50% off coupons!!  Not only do you need lots of buttons, but you'll also want to pick up a Styrofoam tree and lots of push pins.  I decided to go with red and green tipped pins for a bit more color, but any large headed pin will do.  I suppose you could also glue your buttons, but I wanted the ability to change mine around and potentially use some of them in knitting projects. 

You'll want to start pinning your larger, more basic buttons, around the tree.  I found that on the larger ones, using two pins was more helpful in keeping them still.  From there, you keep building up the layers and adding more of the smaller and more unique buttons.  Keep going until you feel that enough of the tree has been covered (you don't want a lot of holes and Styrofoam peeking through).  For buttons with shanks and not holes, simply bend your pin into an "L" shape and poke it through that way.  Also, when you get toward the top, be careful!  My pins started poking through the point of the tree and I had to take a break to let the bleeding stop!!

The next tree I made was a ribbon tree.  To make this one, you again need a Styrofoam tree, and pins, though flat headed ones work best on this project.  You will also need ribbon.  I went with four different patterns and one roll of each.  Depending on how full or colorful you want your tree, you may have to adjust how much ribbon you use.  I used every last scrap I had, and I probably could have used another roll for good measure. 

To make the tree, you simply cut your ribbon into 3-inch lengths.  From there, you fold the ribbon pieces in half and secure them to the tree using pins.  Once you finish your row, you start the next one, slightly overlapping the ribbons to cover the pins from the row below.  Keep going in whatever color pattern you choose, again being careful not to poke yourself as you near the top of the tree.

See, pretty simple!!  I have one more tree that is taller than the other two, and I think I will be covering it in yarn.  A friend suggested pompoms, and if I can get them to stick, that may be an option too.  Hmmm...so many ideas!!

Well, I'm off to ready the little one for school.  Tonight we are decorating our tree, so stay tuned for some photos of that!!

Cheers!
Sharon

4.06.2010

Weekend Scores


Hello!!!

Well, I went bargain shopping this past weekend and I found a few great deals!!!  Actually, I was out hunting for plastic eggs for the Diva, and couldn't find any.  I didn't want to waste the time out by myself, so I decided to pick up a few things for moi. 

First, I was on the hunt for a tablecloth.  Our table is apparently an odd size, since I can never find anything that fits it...and that isn't $100.  For Thanksgiving, I made my own tablecloth with some IKEA fabric, but I wanted something more springy.  I actually found a cream colored one at the Dollar Store for $2!!  I also picked up a cute butterfly runner for my plant stand for another $2. 

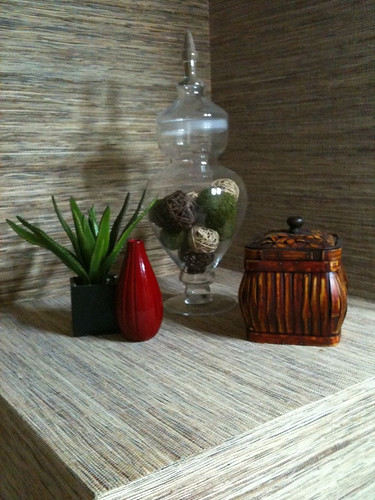
While there, I checked out the craft aisle (like there I'd skip that!) and I found some cute moss covered twig balls.  You can see them in the photo of my bathroom shelf. Mixed with the twig balls I already had, they look pretty good...or at least I think so.  I also found a few other odds and ends before heading to Walmart...to continue my egg hunt.

So, I never did find any eggs, but I did score that cute red vase in the photo...for $1.97!!!  I was super excited since I thought a punch of red would look nice in there.  Now I just have to get some new towels to finish everything.  I told the hubby that I wanted to get some new towels, and he agreed 100%.  He even suggested that we replace all of our towels, not just the ones downstairs!!  Woohoo!!!

While at Walmart, I also found another awesome tablecloth.  I still have to take some photos of it, so they'll be posted another time.  I was searching for egg alternatives, and I saw it...the perfect match to my Nana's vintage Pyrex dishes...the ones we use every day!!  I HAVE to take photos so everyone can see the perfect match!  For the $14 it cost, it was well worth it!!

So, that was my bargain hunting.  I'm off to play with the Diva...I'll post more later!

Cheers!
Sharon

3.18.2010

Feedback Appreciated...


Hey Everyone!!

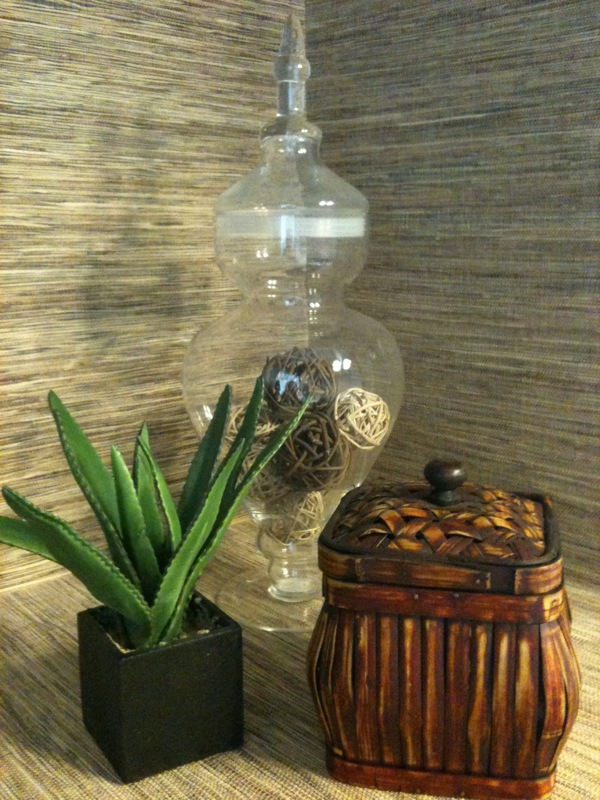
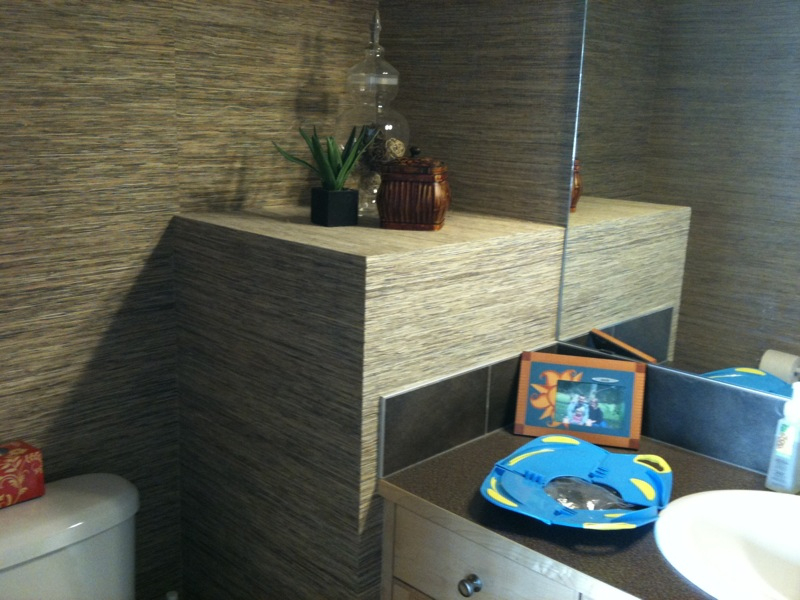
I did it! I went back to Wal-Mart and bought the tall glass jar! I passed on the smaller one for two reasons…one, there was only one left and it didn’t have a price tag on it (waiting for a price check was not on my To Do List with the Diva), and two, I thought it might be too much of a good thing. Instead, I picked up a small bamboo woven box, and a fake (yes, me, the lady with a bazillion plants said FAKE!) aloe plant. I planned on using these items in my downstairs bathroom, and there is next to no light in there. So, if I want anything green, it needs to be plastic.

I used some of the stick balls I already had in the jar, though I think I need more. I am also convinced that it needs a pop of color…red perhaps?? What do you all think?? This “shelf” is so hard to decorate. It is quite deep, and really serves no purpose. When the house was built, it was considered a decorative feature…instead, it has become a decorating nightmare! 

During the holidays I used this basket to fill the space. I think I am going to keep using it each year. It has pinecones and wooden apples, with a few cinnamon sticks thrown in for good measure. The pinecones always remind me of home back East, so they are a must in my fall/winter décor.


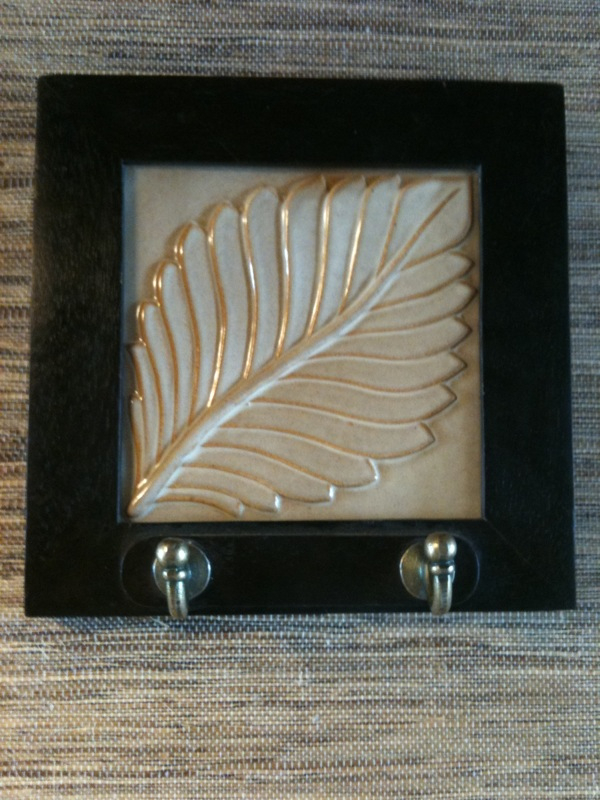
On the other side of the bathroom, hubby and I found these cute plaques with hooks at Home Hardware. They came in a set of three, so we hung them all together. When you have really high ceilings, it gets tricky trying to fill the space.  I think we paid $20 or so for the set...more than I would have liked, but they were cute, and we needed something.  Oh well... 


Here’s what the three look like together…


(Sorry for the crappy photos… the room is really dark, and I took them on my phone.)

I am still at a loss on how this room should be done.  The grass wall paper was already in the room when we bought the place, and we aren't ready to remove it, so we have to work around it.  As I said before, I think the room needs color, I just don't know what or where.  Ideas??  I am so bad when it comes to decorating...I need your help!!!

In the meantime, I've been working on my 2nd knit teddy bear.  This one is supposed to be sent off with the blanket I just finished.  So far the little guy has a head, body, and arms...I'll post photos once I'm done.

I hope you all had a great St. Patrick's Day, and I hope you have a wonderful rest of your week.

Cheers!
Sharon

3.10.2010

A Great Find??

Hey Everyone!


During our weekly grocery trip to Wal-Mart, I decided to leave hubby and the Diva alone to food shop, while I explored the rest of the store. I naturally gravitated towards the clearance section, and I found these beautiful glass jars in this photo! The big ones are $9.00, and the smaller ones were $6.00!!! I have been looking for some like this, but now I don’t know what to do with them. I didn’t buy them, but I am still really tempted to go back.

I’m off to explore the web to see where others have used this type of jar in their homes…in the meantime, any ideas?? Also, should I forget them and count them as out of style since they were in the Clearance aisle at Wal-Mart? Is that a sign that they are no longer in??

Let me know what you all think!!!

ETA: I just had an idea...wooden speckled easter eggs??  How would those look??

Cheers!
Sharon