
Lately it seems like Hannah and I have been seeing more and more wildlife during our week. Yesterday we saw 2 coyotes walking along the side of a city road (scary since they have to go through our neighborhood to get to the closest safe spot of them), and we've been seeing more and more birds flying overhead. To celebrate the animals and to try to encourage our feathered friends to come visit our yard, we decided to make new bird feeders. Our toilet paper tube feeders fed the magpies quite well, and we have been saving up more tubes for spring feeders. In the meantime, we thought we'd try a different type of feeder.
This idea originated from a Pinterest post of a project first posted on the HGTV website. Click here for the link. Hannah and my husband have been eating a lot of oranges lately, and he is a pro at keeping the peels whole, so I thought it would be perfect for us to try.

* Orange peels (try to keep them as hole free as possible. One of ours had a hole from the bellybutton, so I used a snip of coffee filter to plug it)
* Bamboo skewer or chopstick (cut in half)
* Twine or string
* Hole puncher or nail
 To make them, you take either your hole punch or nail and make small holes just a touch down from the edge of the orange. You'll need to make at least two, directly across from each other. I was a bit off, so I made four holes for better balance.
 Once your holes are made, slide your skewer/chopstick through the holes. Despite having four holes, we only used one chopstick per feeder. I wanted a bit of stability, as well as a perch for once the bird food gets lower.
Then, simply tie the twine to the ends of the skewer, fill the feeder with your food of choice and hang in your favorite tree!!
 You can fill these feeders with most anything. We wanted to give the birds an extra treat, so we mixed up some peanut butter food for them.
To make the filling, you need:
* 1/2 cup peanut butter
* 1 cup of cornmeal or oats (we used a 1/2 cup of each)
* 1/4 cup raisins or any other dried fruit or nuts.
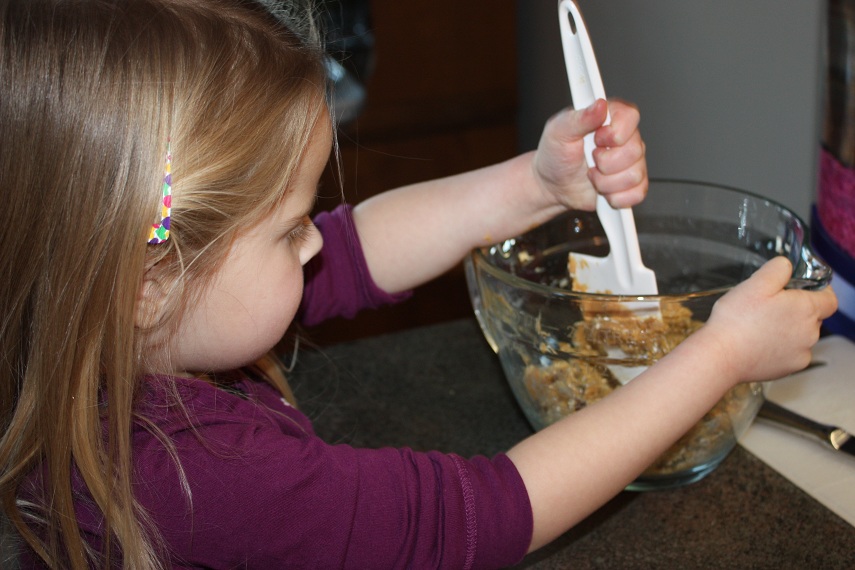 Simply mix all of your ingredients in a bowl and fill your feeders. For ours, we used raisins and dried apricots. I found that the mixture was a bit too dry, so I added a touch more peanut butter to bind it all together. You can adjust the amounts based on what looks right and what you have in your pantry.
This project is great for younger children. They can help measure out the ingredients, mix everything together, fill the feeders and of course, eat the oranges!!
Cheers!
Sharon


